Zone has various email servers in use based on geographic location. To get the appropriate guide for your account, please enter your email address or domain name and click the Check button.
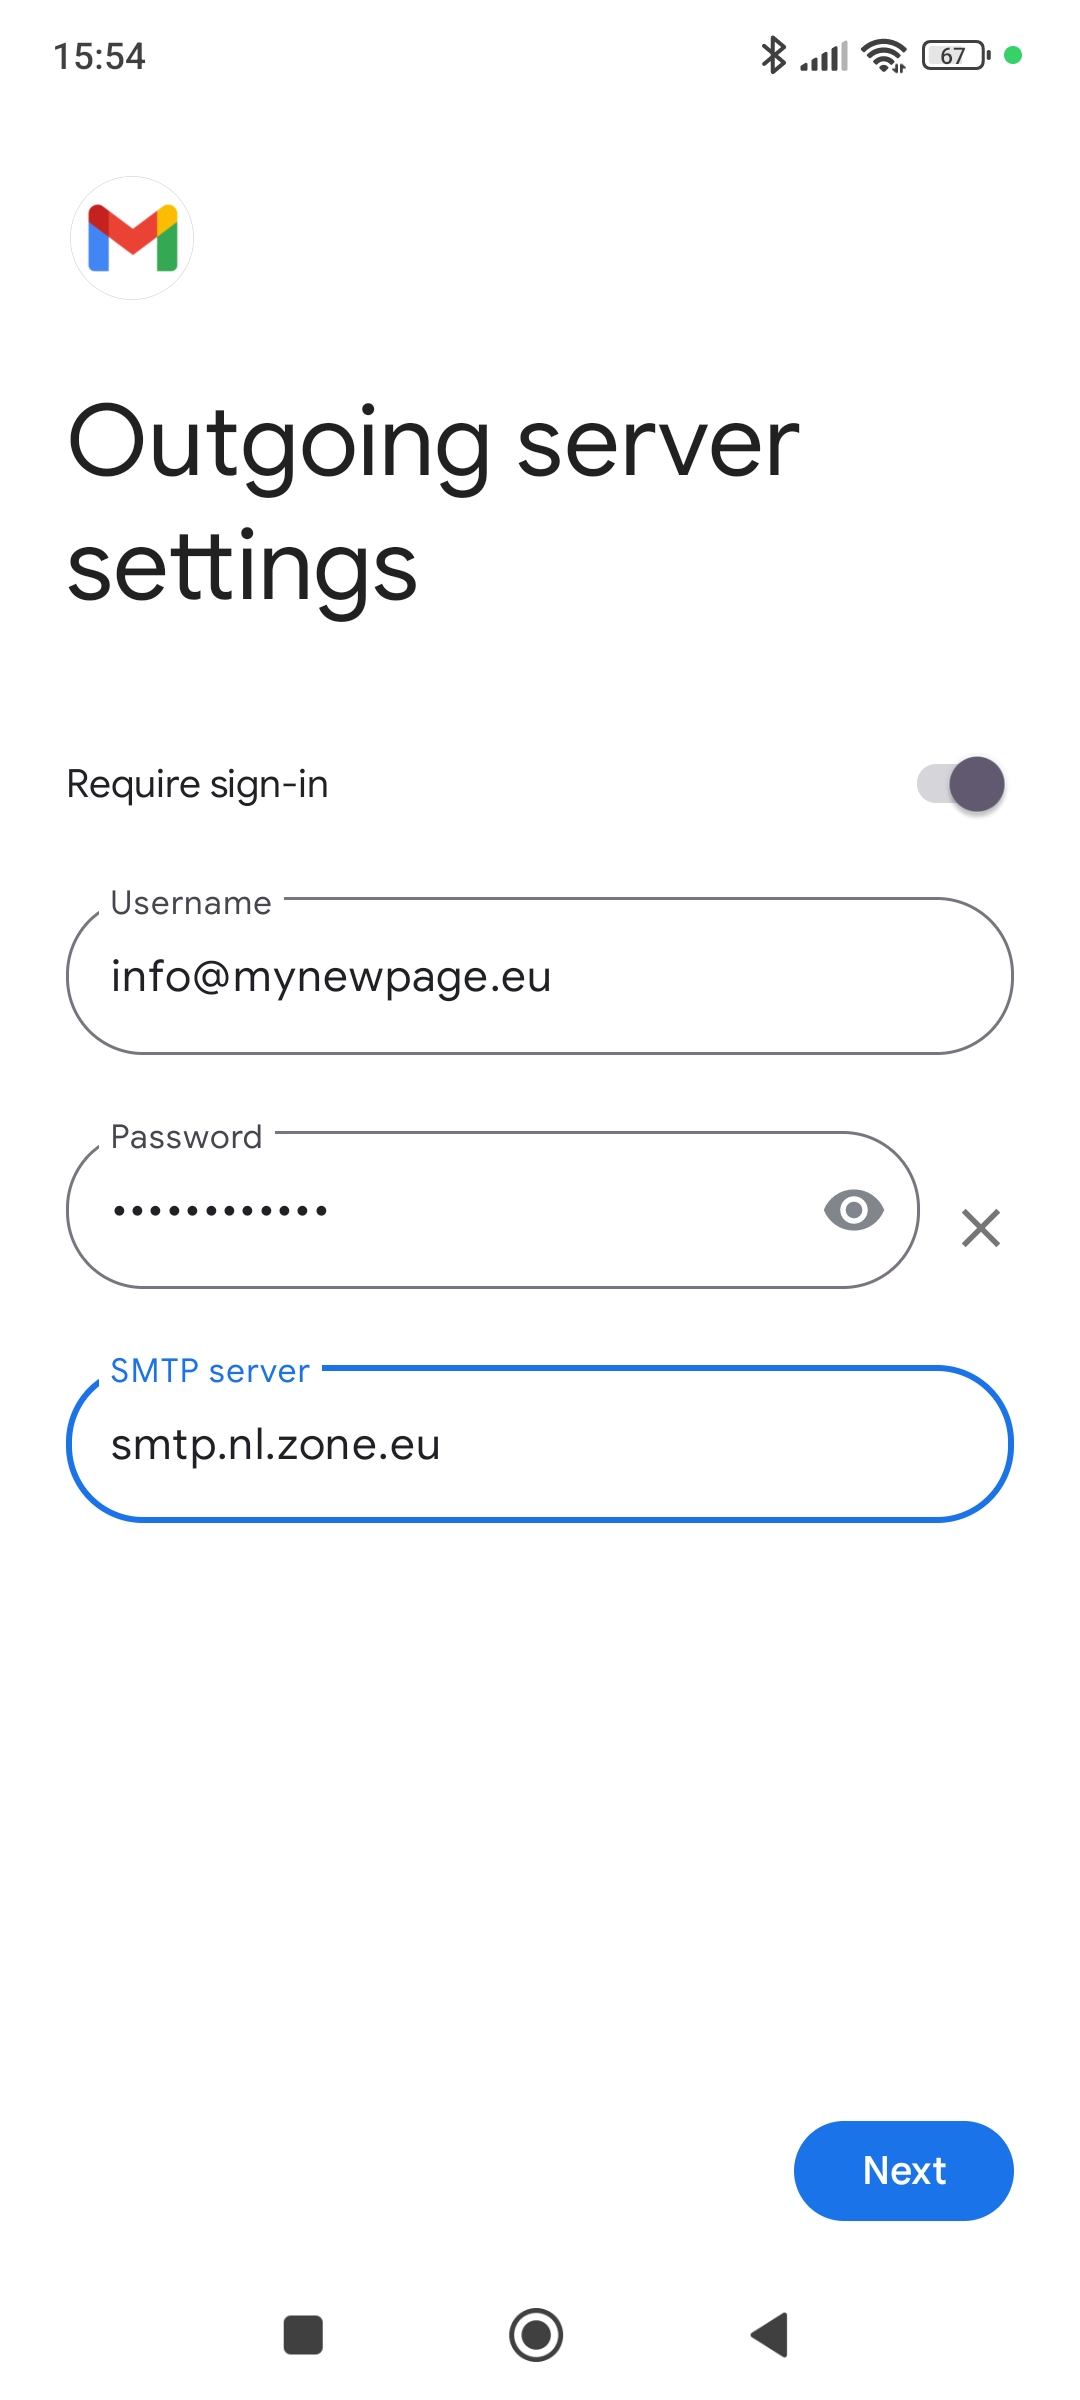
Outgoing mail server requires authentication (username is email address, password is general or device specific).
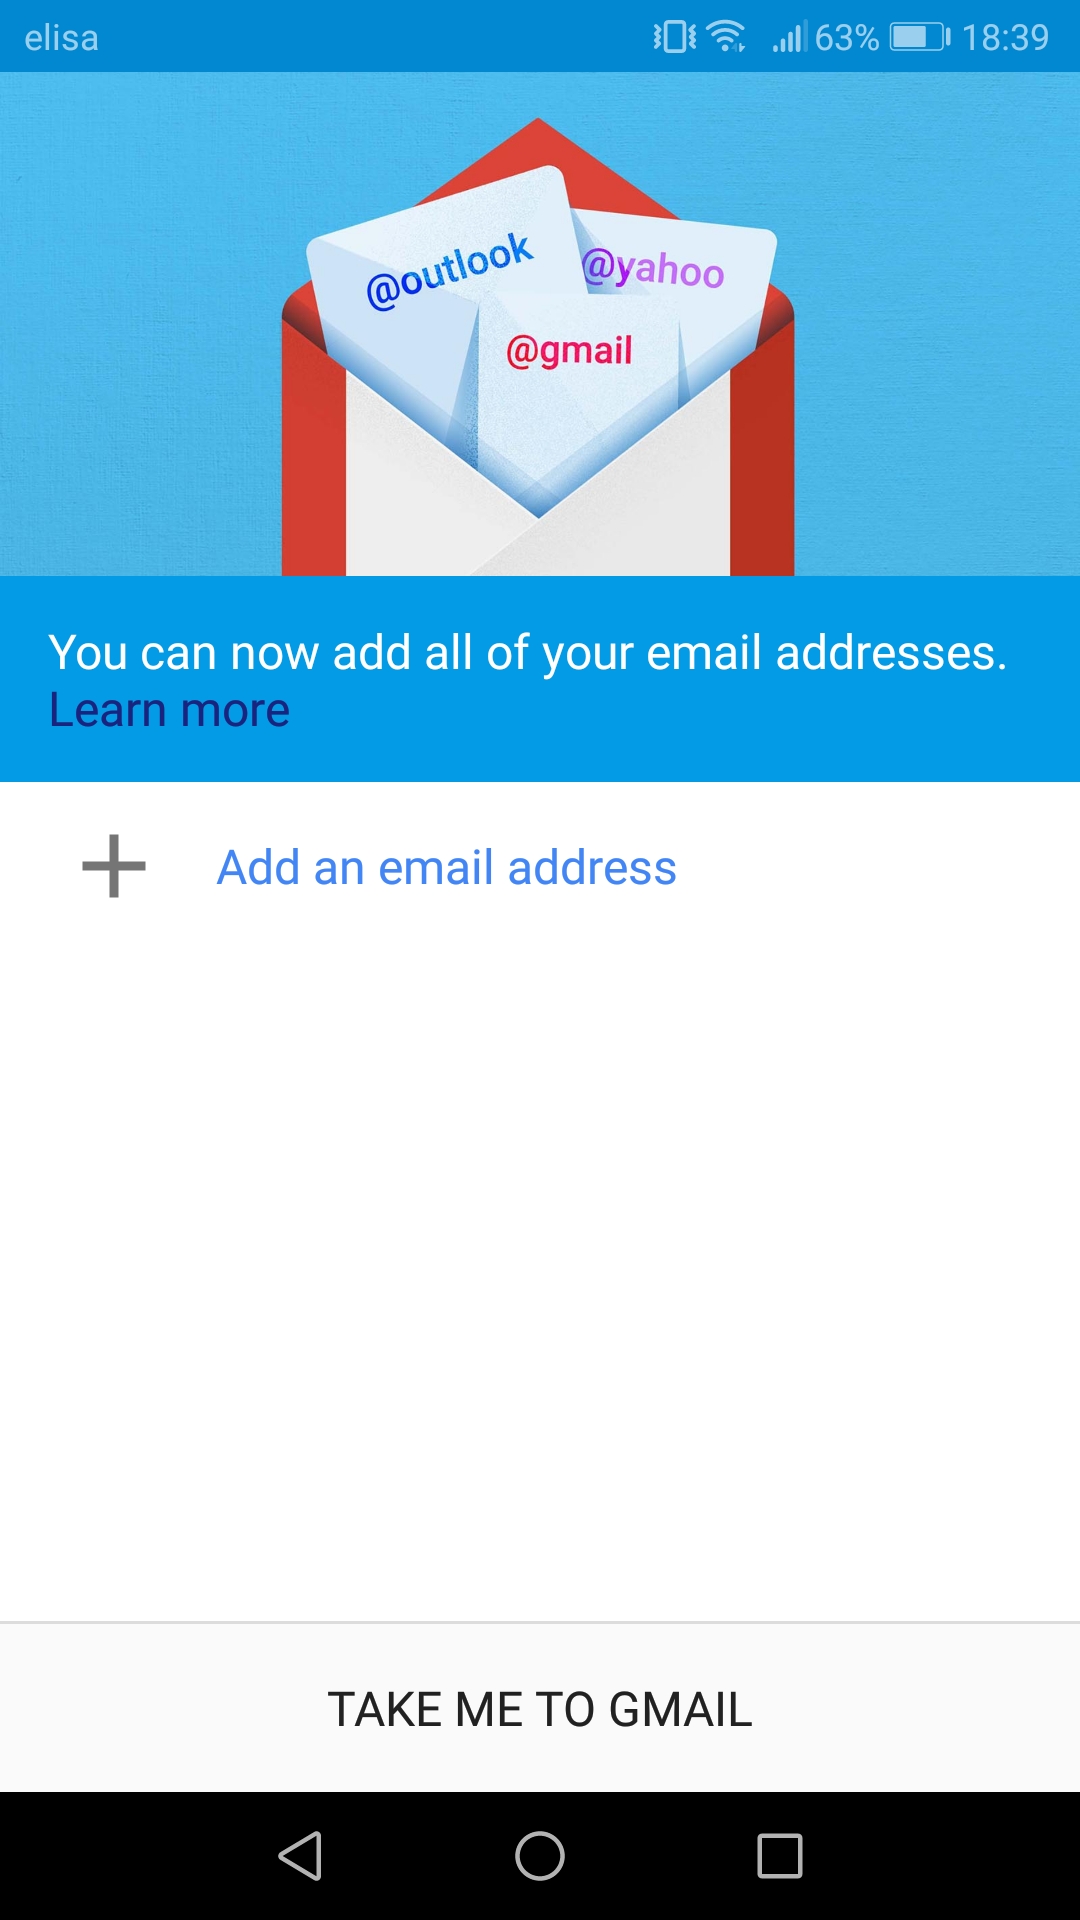
1. On your phone, open Gmail app and tap Add an email address.
In case you already have a connected account, then upon opening the app tap icon on the top right and then select Add another account
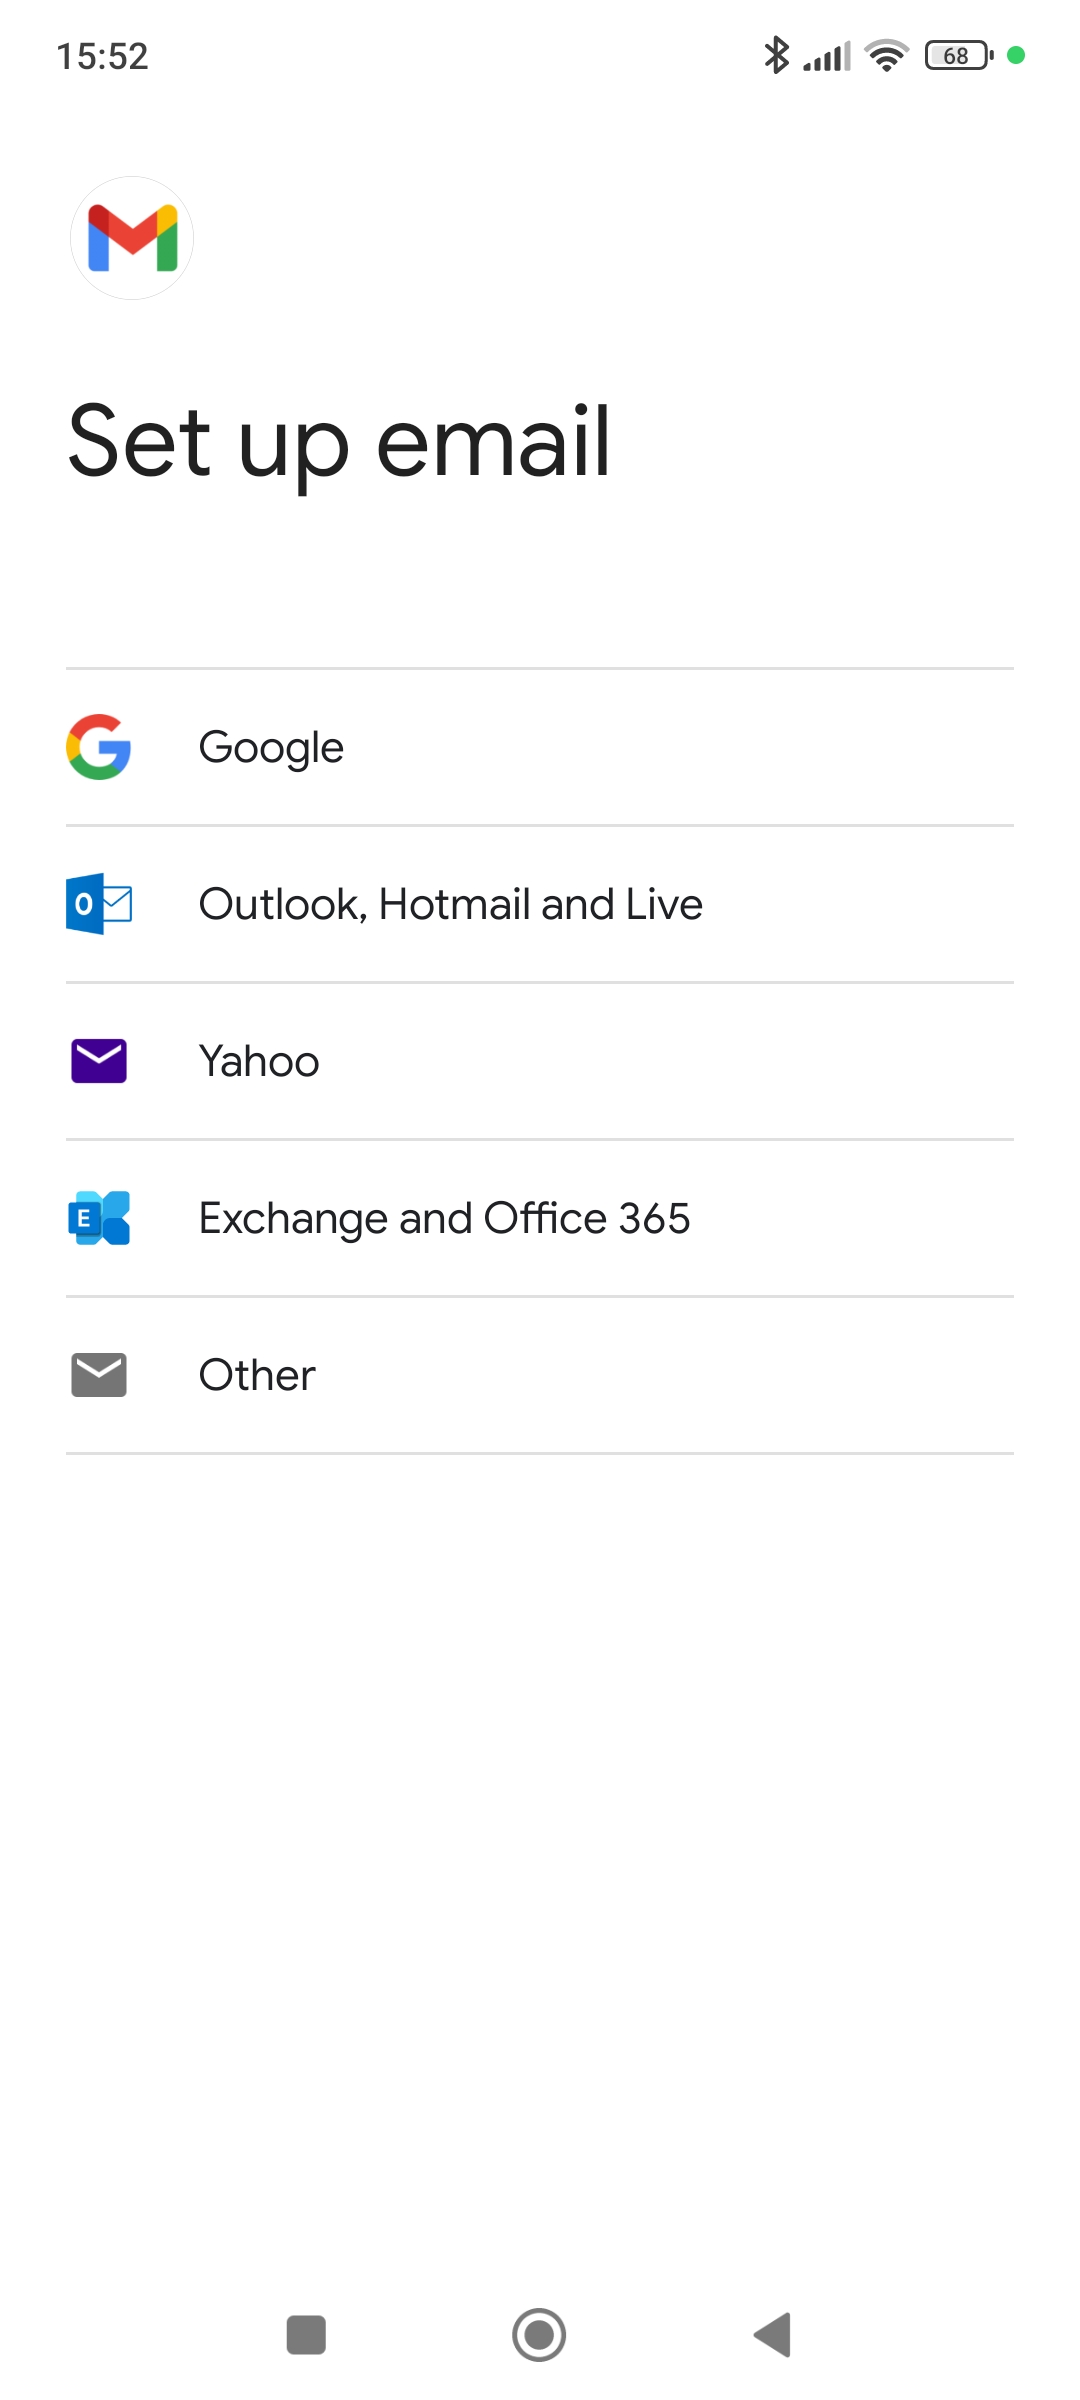
2. Next tap Other
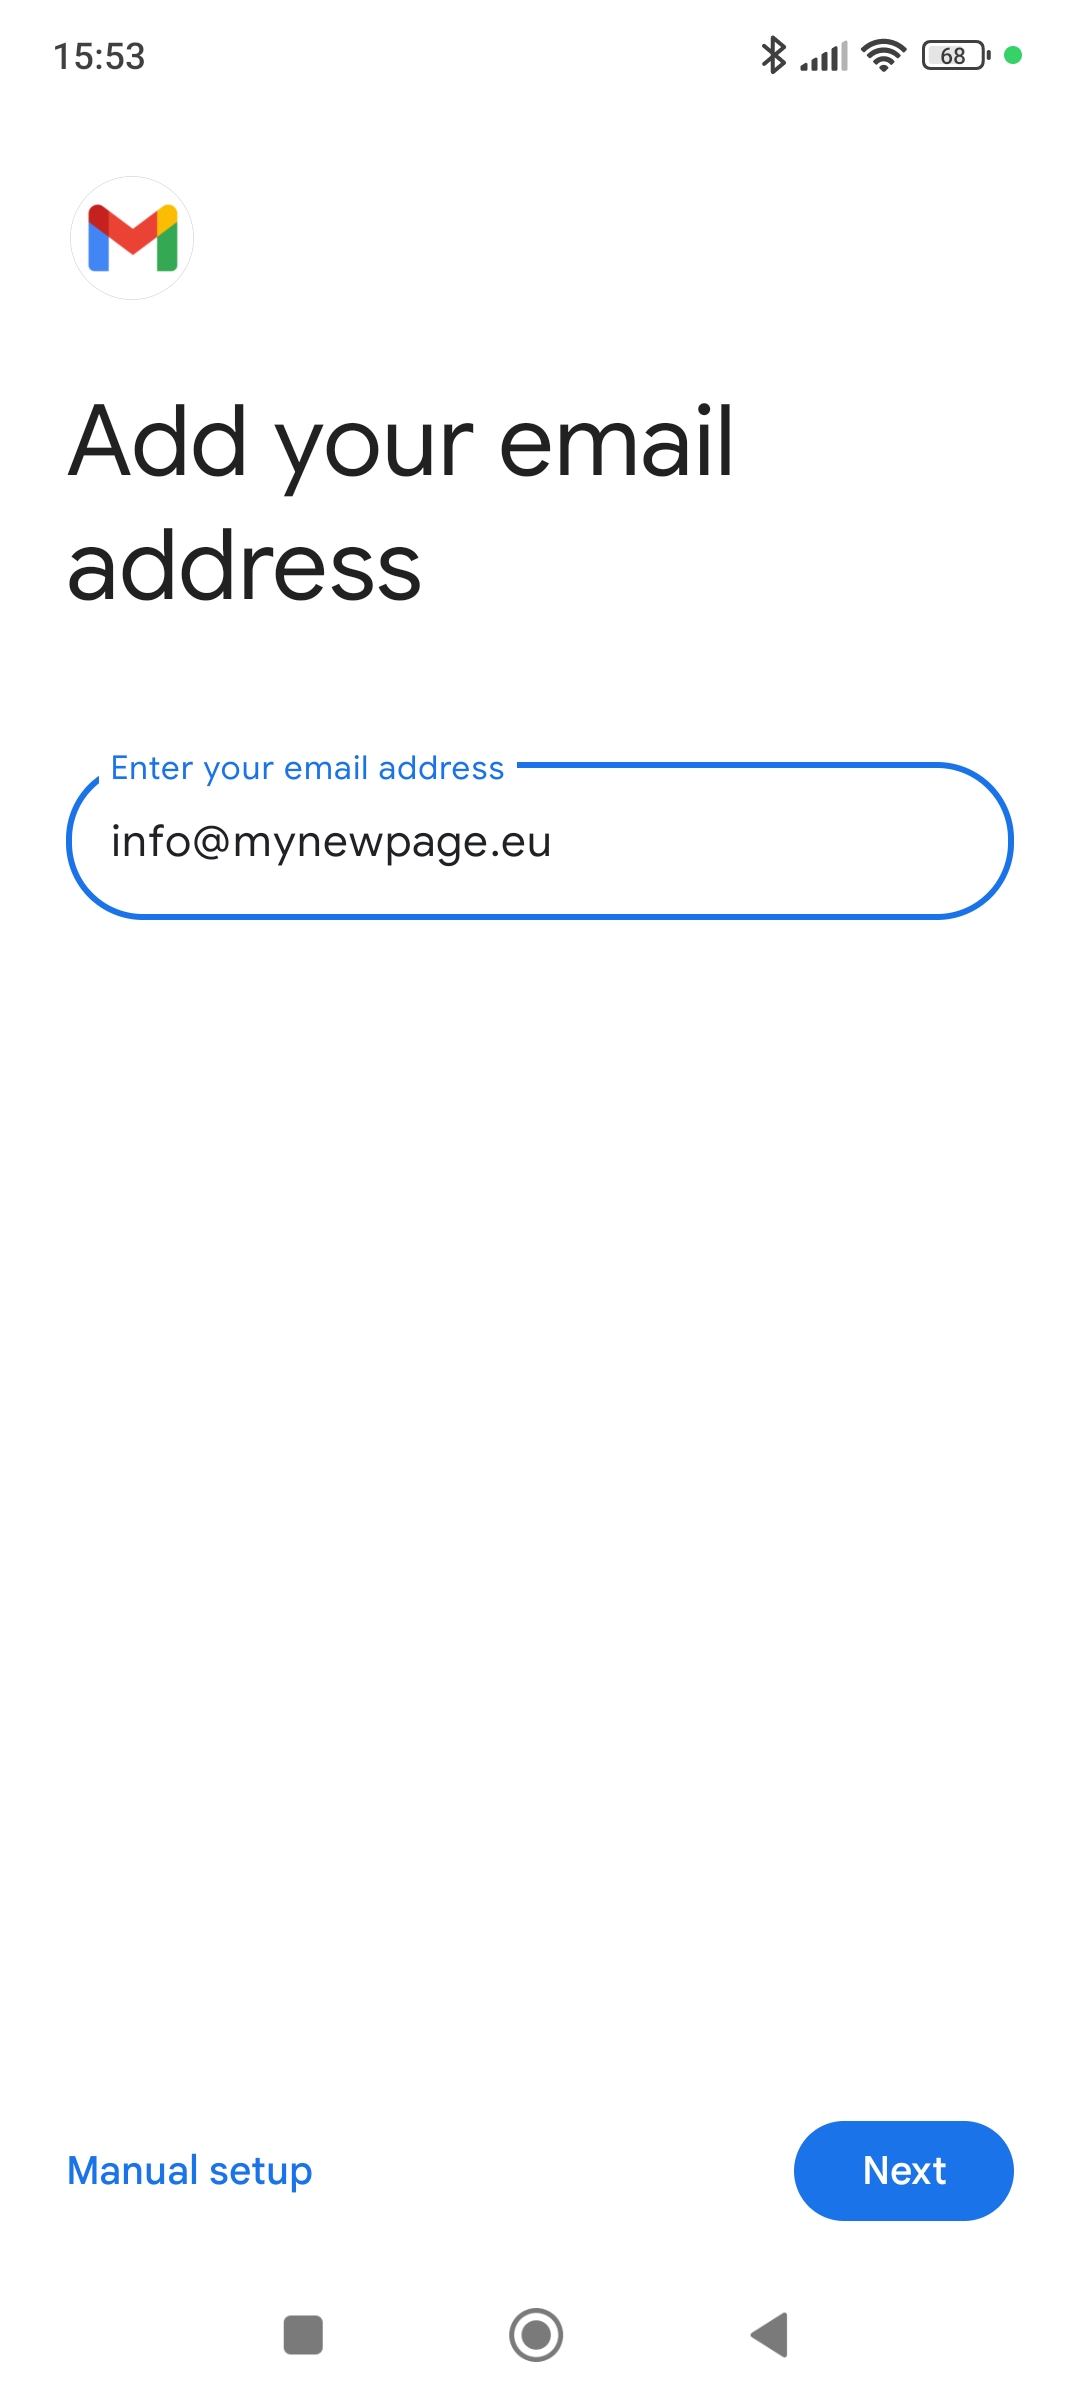
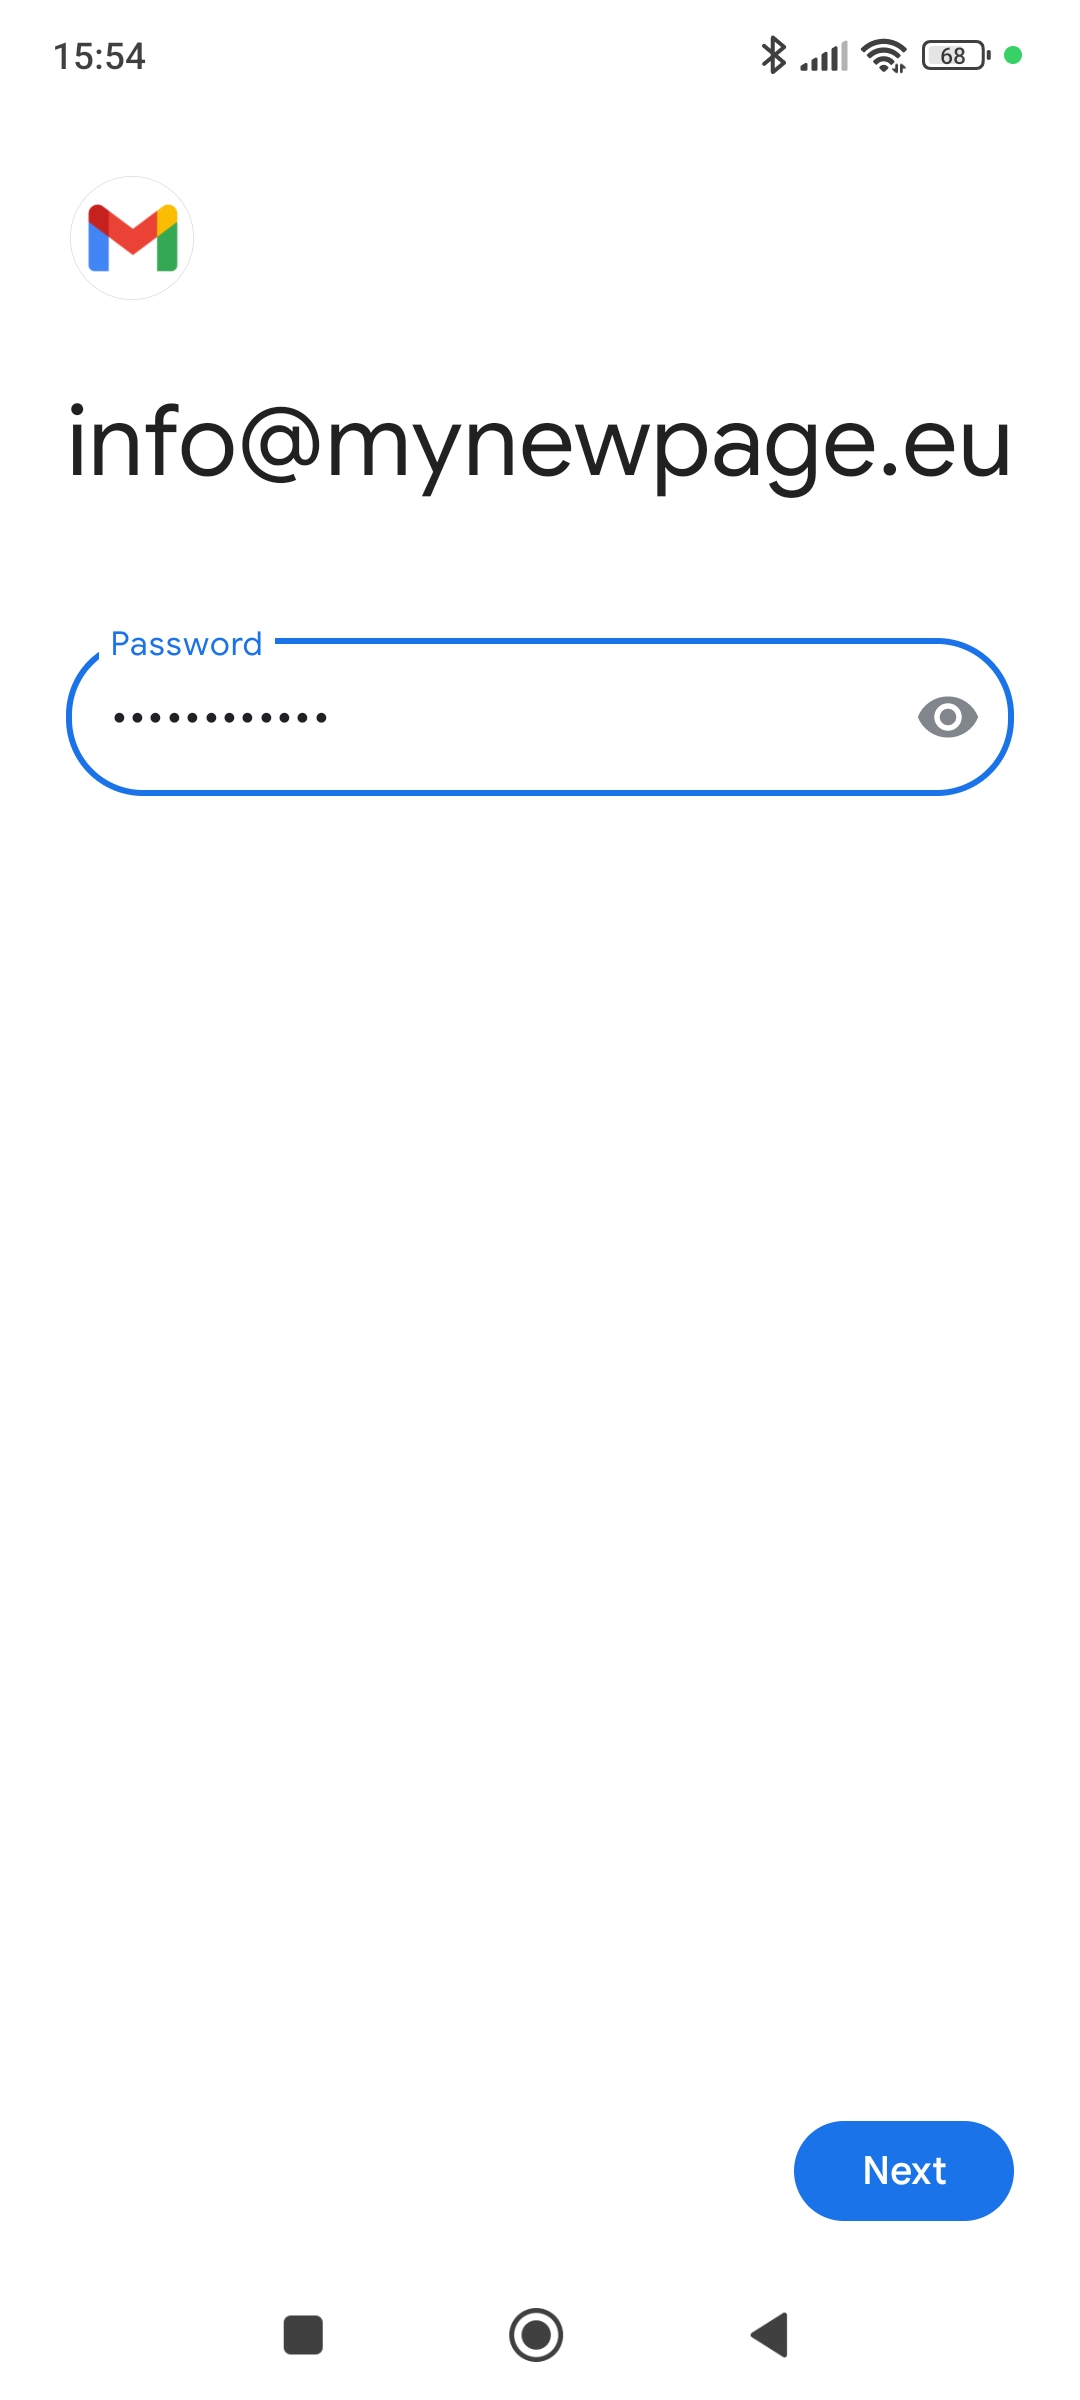
3. Enter your e-mail address and tap Next
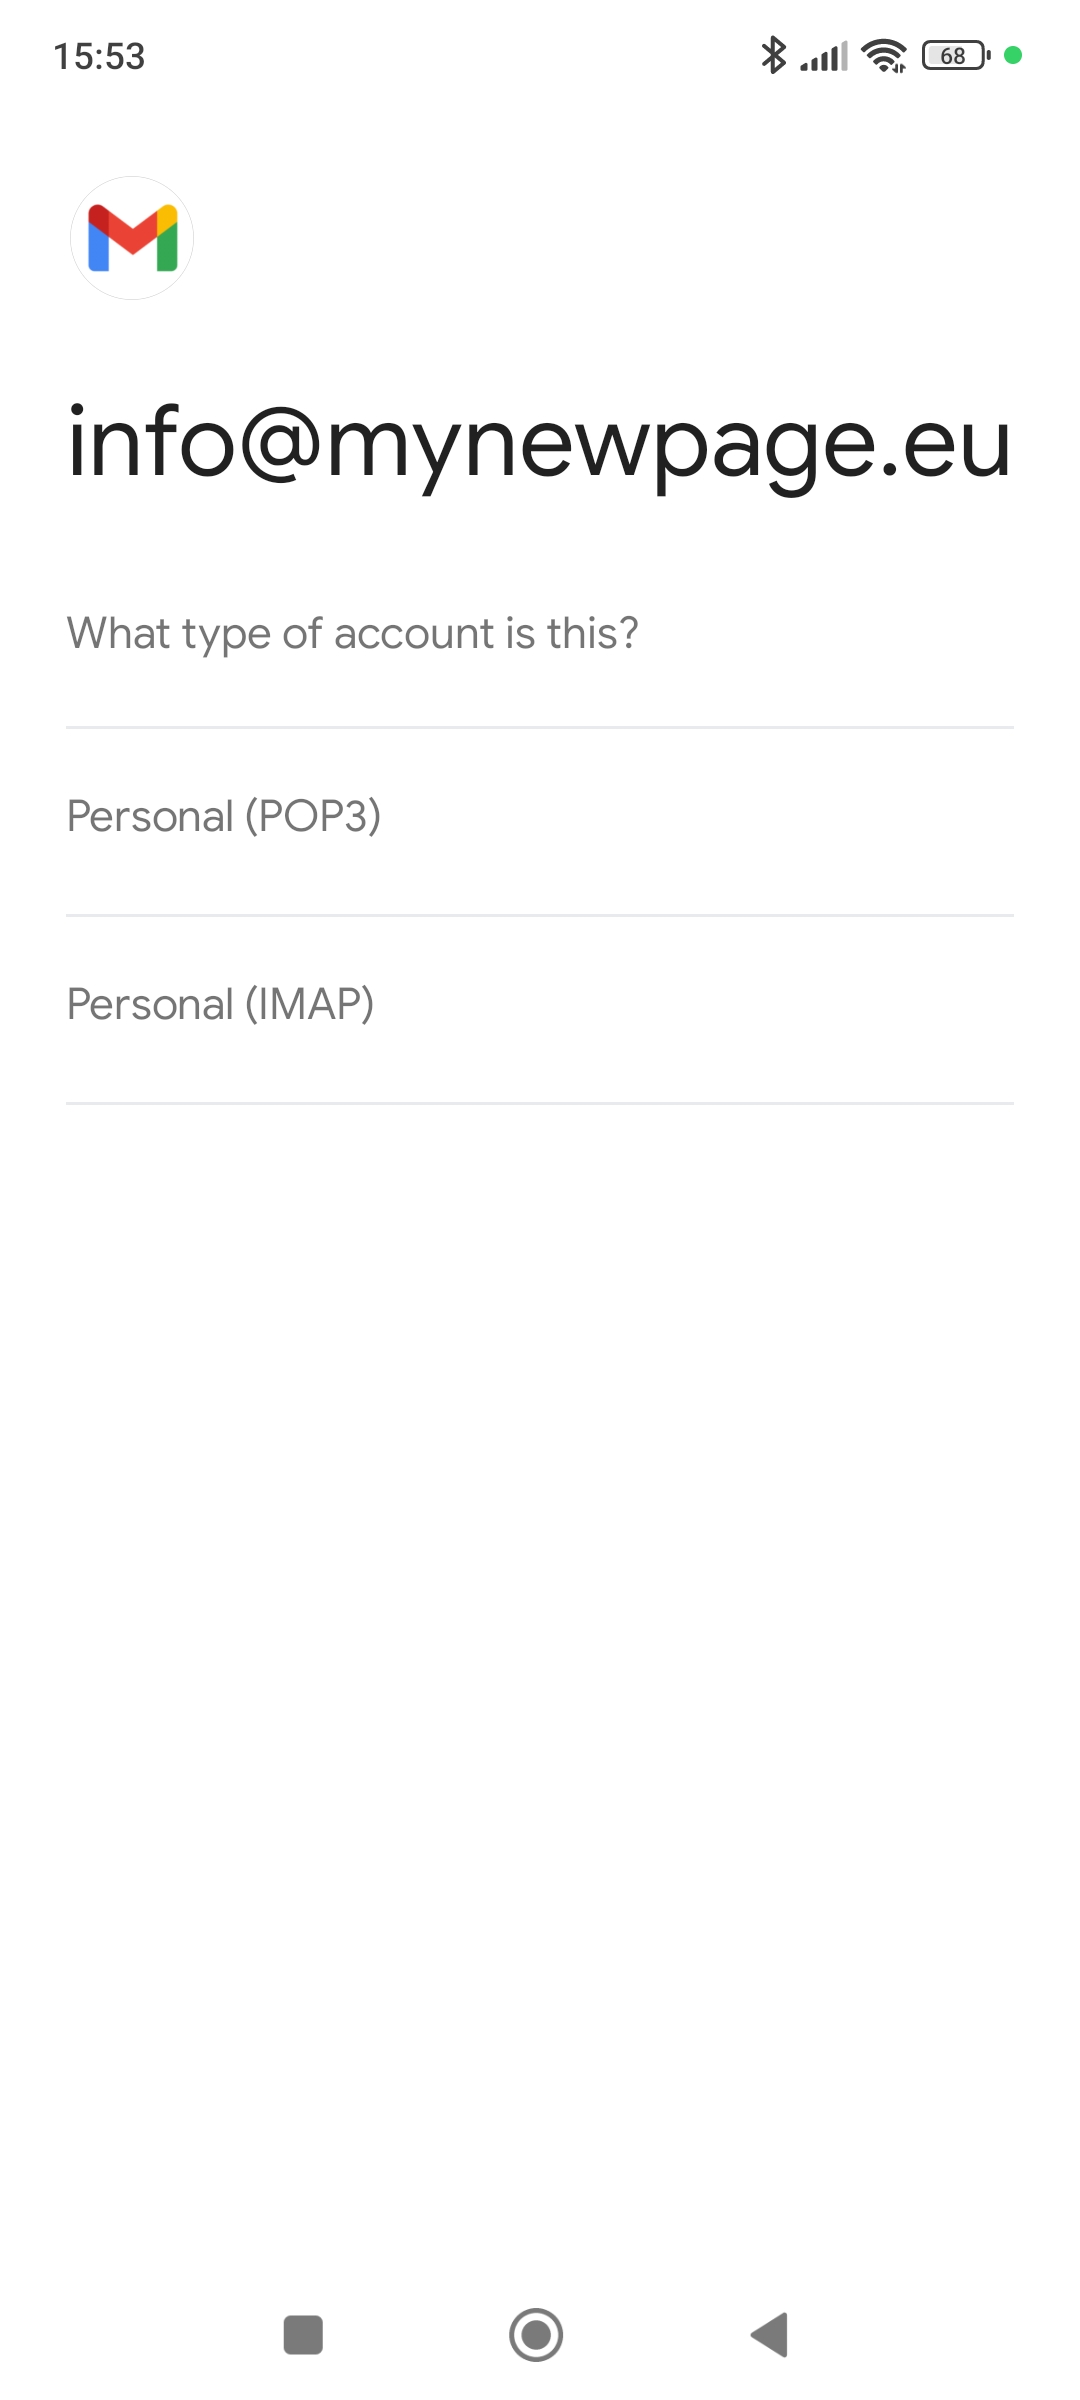
4. Select account type Personal (IMAP) then tap NEXT
5. Type in your e-mail account password, then tap NEXT.
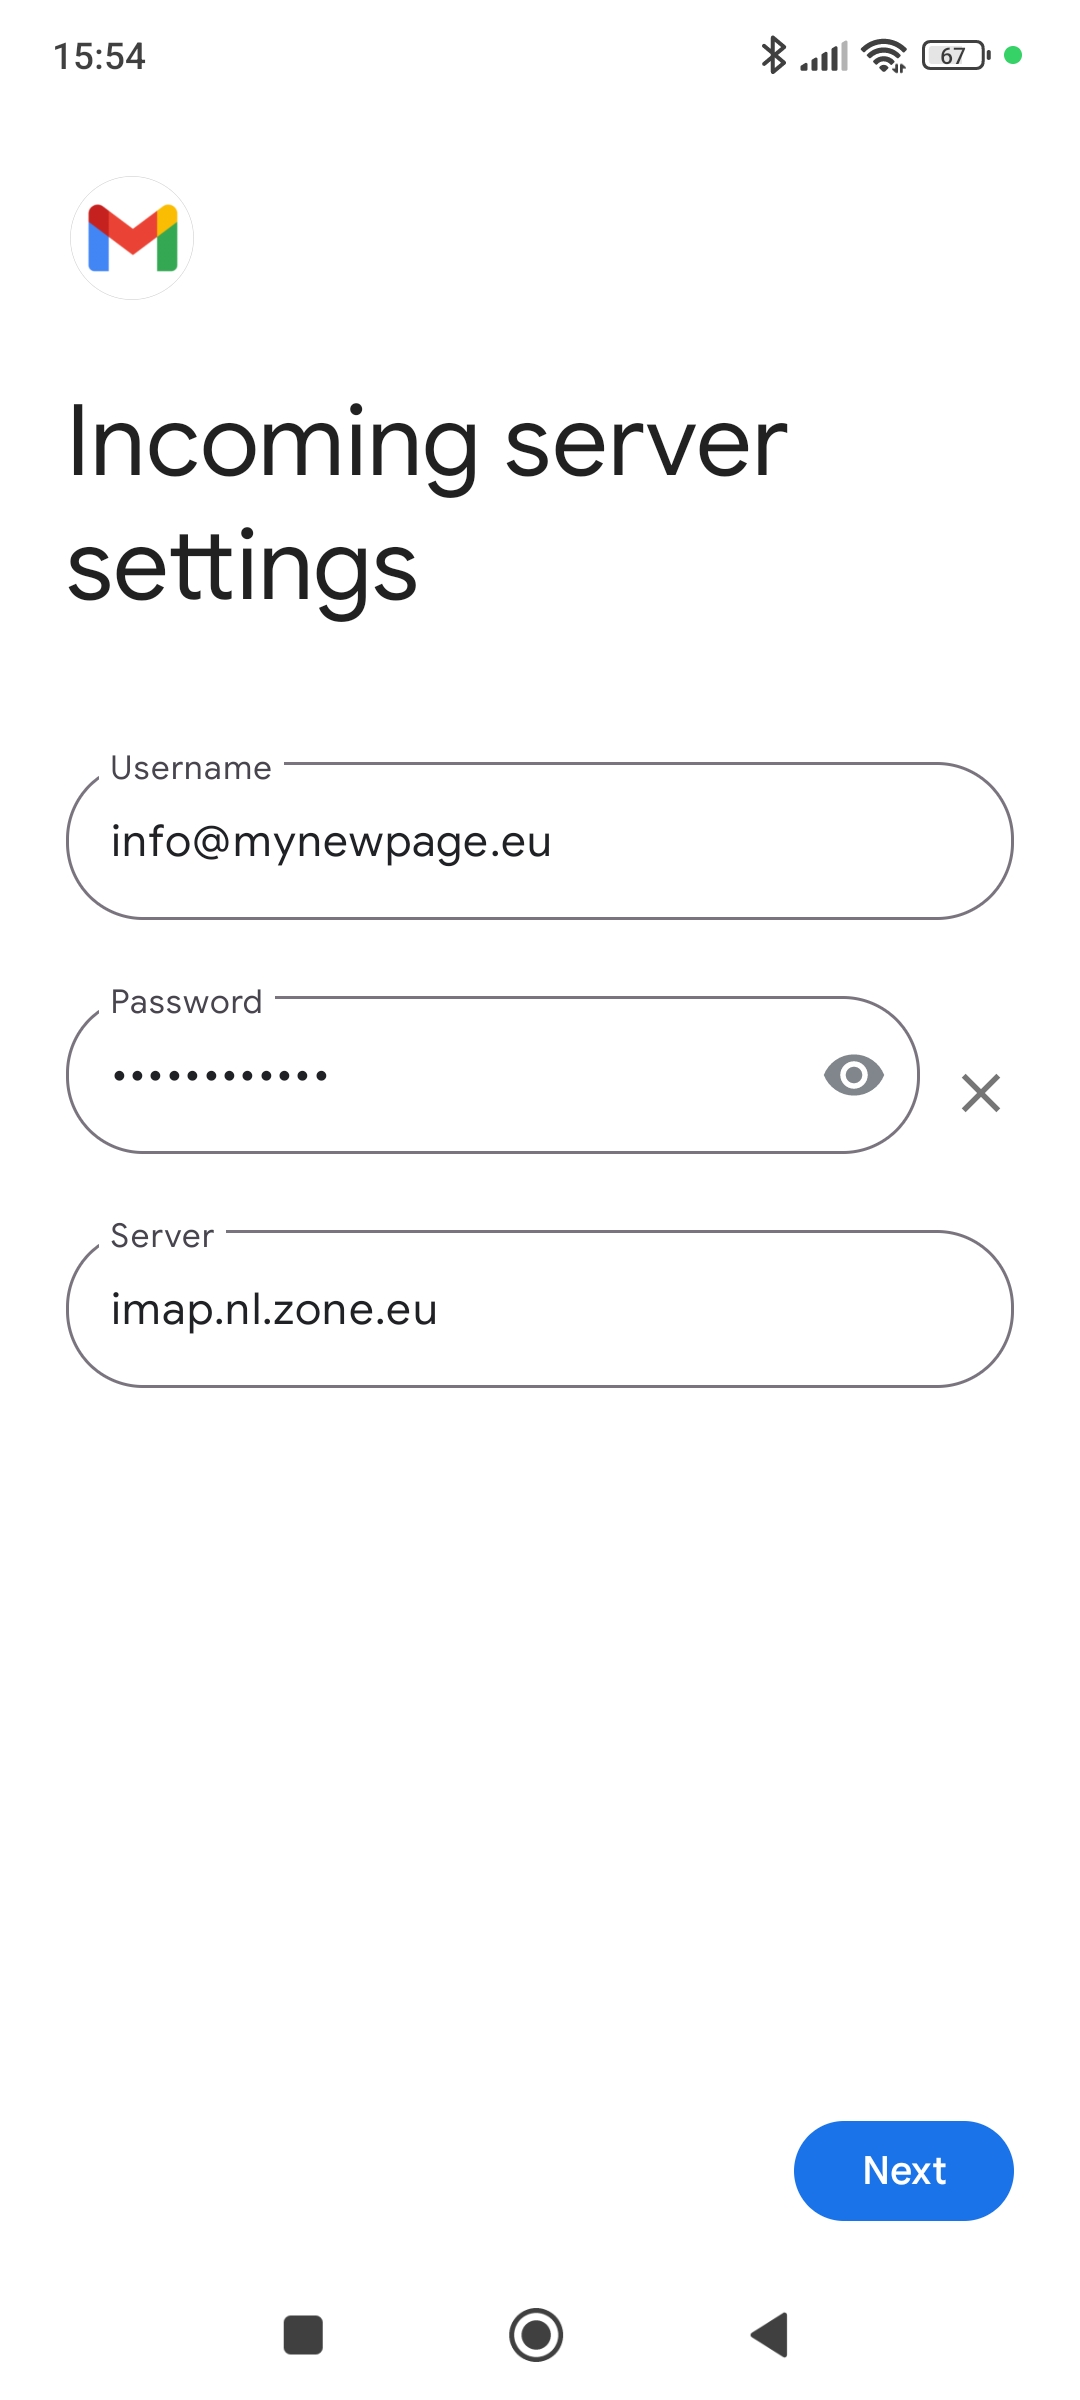
6. Enter incoming mail server imap.nl.zone.eu, then tap NEXT.
7. Enter outgoing mail server smtp.nl.zone.eu and tick the box Require sign-in.
8. Now you will be asked to set up your personal preferences, which you may fill out as you deem necessary.