Zone has various email servers in use based on geographic location. To get the appropriate guide for your account, please enter your email address or domain name and click the Check button.
Outgoing mail server requires authentication (username is email address, password is general or device specific).
Adding email account
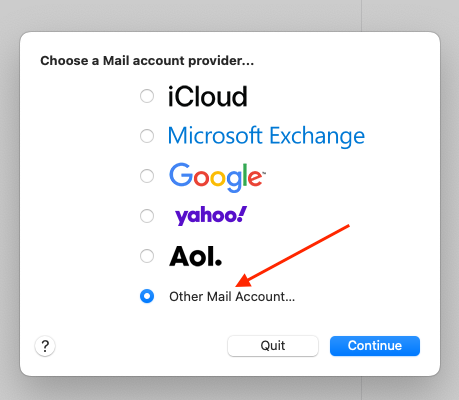
If you’re setting up Mac Mail for the first time, open the Mail application, choose Other Mail Account and click Continue.
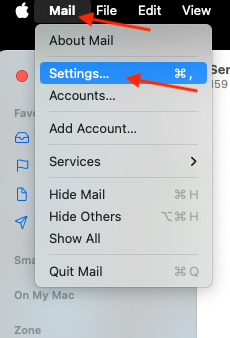
NB! If you already have an email account set up in Mac Mail, to add a new account, open Mail, next to the Apple icon choose Mail and Settings, and click the + icon.
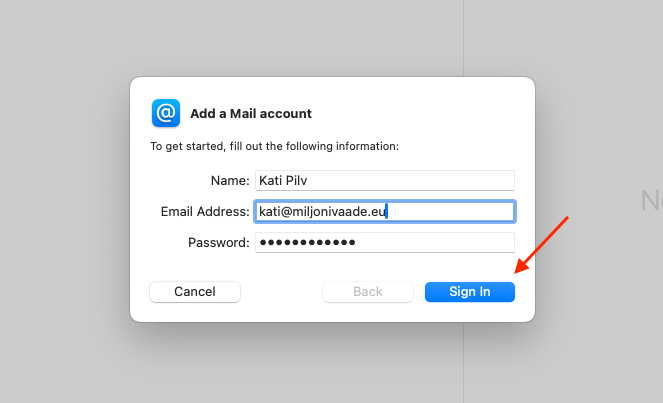
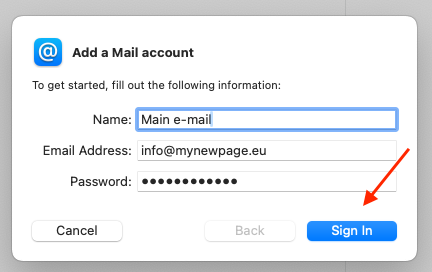
Account information
Name: First and last name or company name.
Email Address: Email address
Password: Password for email account
Once the information is entered click Sign in.
Setting up
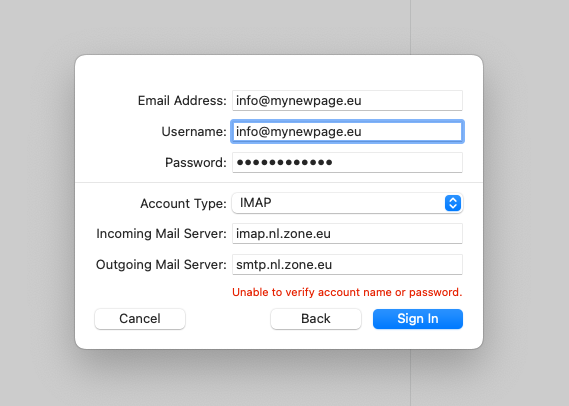
First, fill in the Incoming Mail Server and Outgoing Mail Server fields:
Incoming Mail Server: imap.zone.eu
Outgoing Mail Server: smtp.zone.eu
Email Address: Email address
User Name: Email address
Password: Password for this email account
Account type: choose IMAP
Click Sign in to save your account.
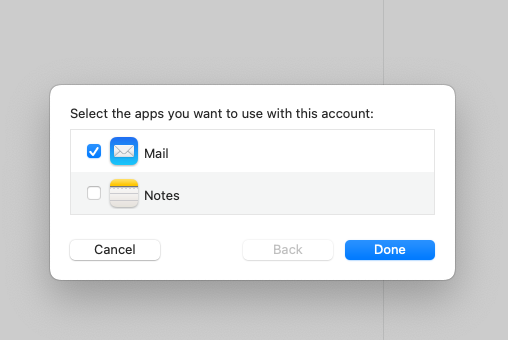
Make sure Mail is chosen and press Done.
Additional settings
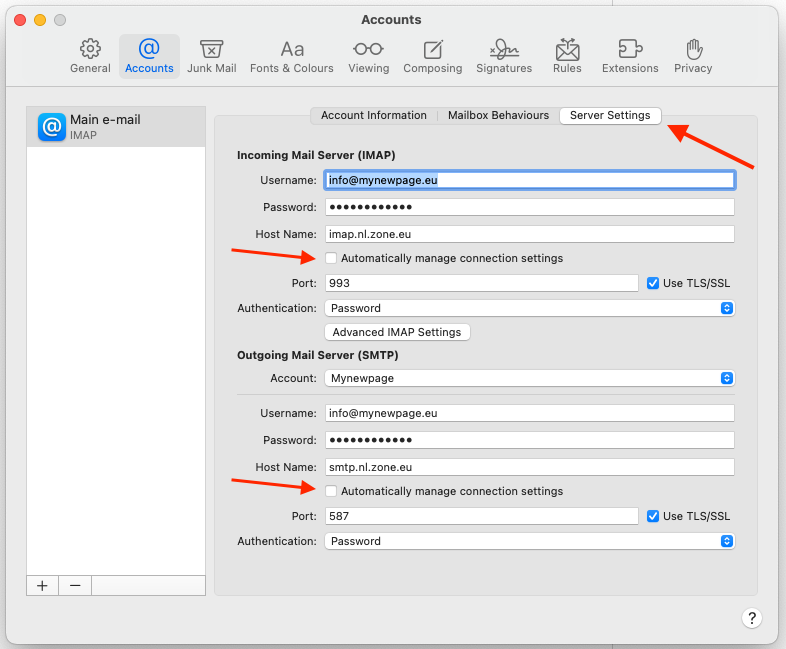
If you’d like to configure your incoming or outgoing mail server later, or change your password, open Mac Mail, next to the Apple icon choose Mail and Settings.
On the left, choose your email address and click Server Settings.
Uncheck Automatically manage connection settings on the Incoming Mail Server (IMAP) and the Outgoing Mail Server (SMTP) to view more detailed settings.

