When installing WordPress on a server, the application assumes that the domain’s web page resolves to Zone server.
If you want to set up the WordPress page on the server in advance and only after preparations are done, redirect the domain to it, then one way to do this, is to change the WordPress URL directly from the page database to a temporary address on our server.
Database user credentials
First of all, you need to find database username and password, which you can use to access the database.
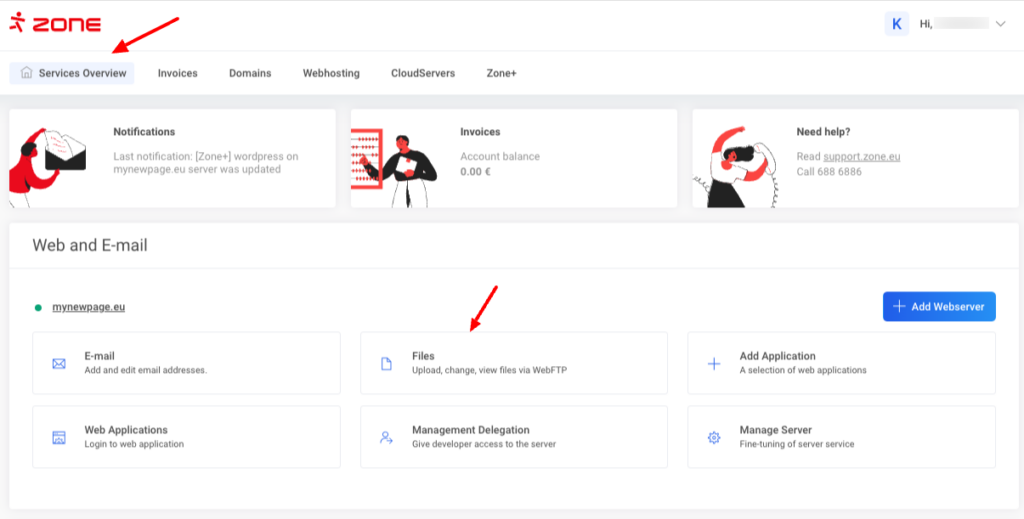
To do this, enter My Zone administration panel and click on the shortcut Files under Web and E-mail.
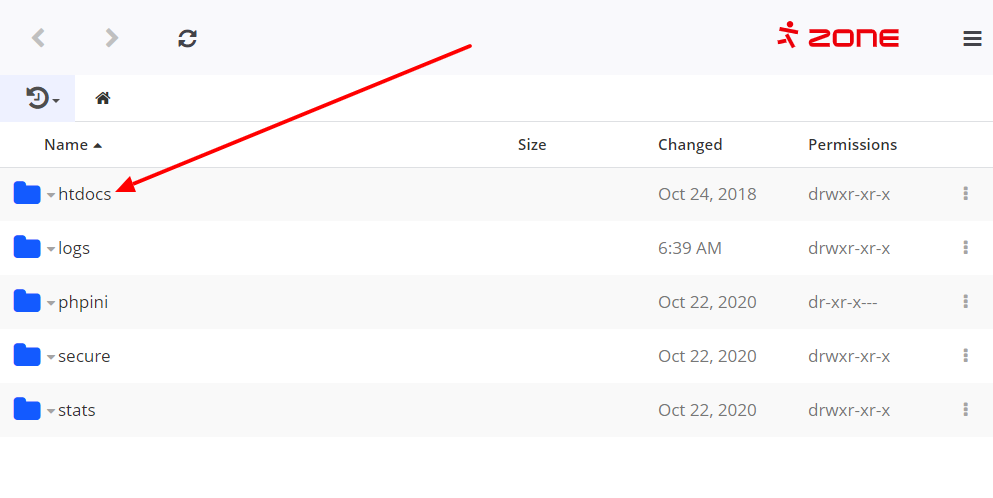
Open the directory where the WordPress page is installed (if the page is installed on the main domain, it is htdocs by default).
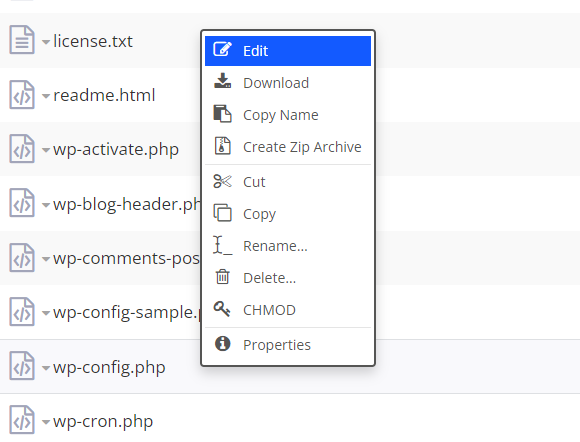
Then open the file called wp-config.php (right click and Edit).
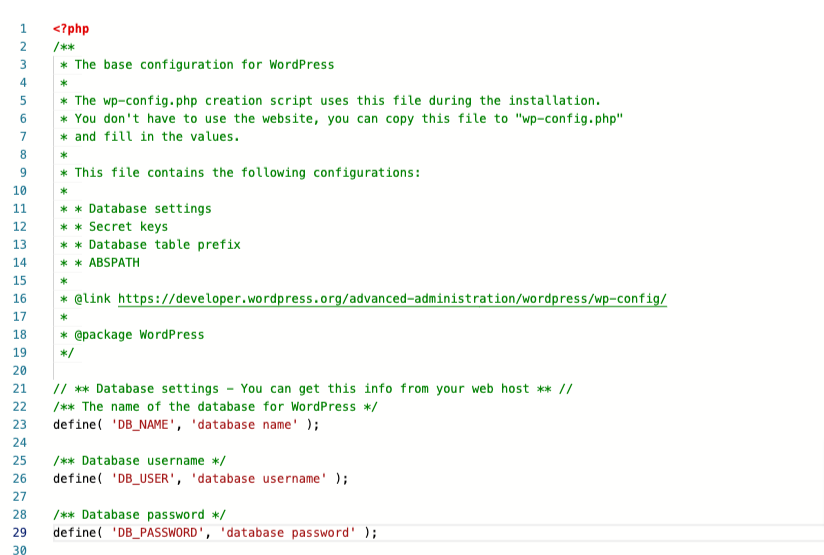
You can find the database username and password between the define() function, next to DB_USER and DB_PASSWORD respectively, separated by commas and quotes.
Copy them to a separate temporary text file so that they are immediately available.
Logging in to database
The easiest way to connect to the database is to do it through the phpMyAdmin environment.
If you still have the My Zone environment open on a separate tab, you can access the phpMyAdmin environment from there by selecting Databases from the left menu in the server administration and then phpMyAdmin.
If you managed to close My Zone already, the direct link to phpMyAdmin is: https://pma.ams01.zone.eu/
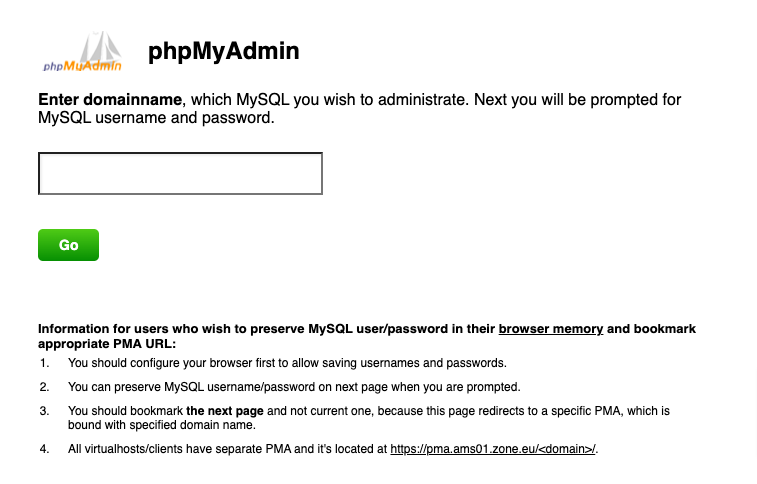
When going from the direct link, first enter your domain name without the www prefix (e.g. domain.ee) and press Log in.
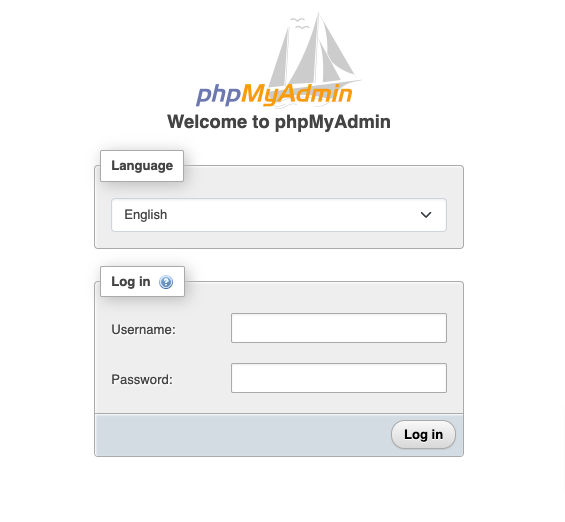
On the next screen, enter the database (MySQL) username and password that you copied from the wp-config.php file.
Changing WordPress URL
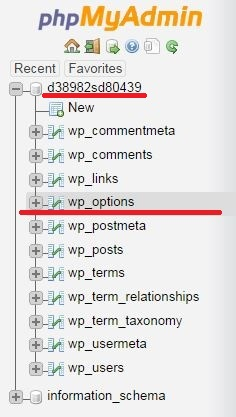
In the phpMyAdmin environment, click on the database name in the left block, then select wp_options in the opened option (instead of wp, table may also have a different prefix).
Find the siteurl line and double-click the URL that is currently its value. Replace it with your server’s temporary URL and press Enter on your keyboard.
Do the same on the line with home.
The server’s temporary address is formed accordingly: http://yourdomain-eu.vserver.zonevs.eu (In this example http://yourdomain-eu.vserver.zonevs.eu)
 Open a new tab in your web browser and try visiting your server’s temporary address.

