First, log into My Zone and click E-mail from Services Overview window.
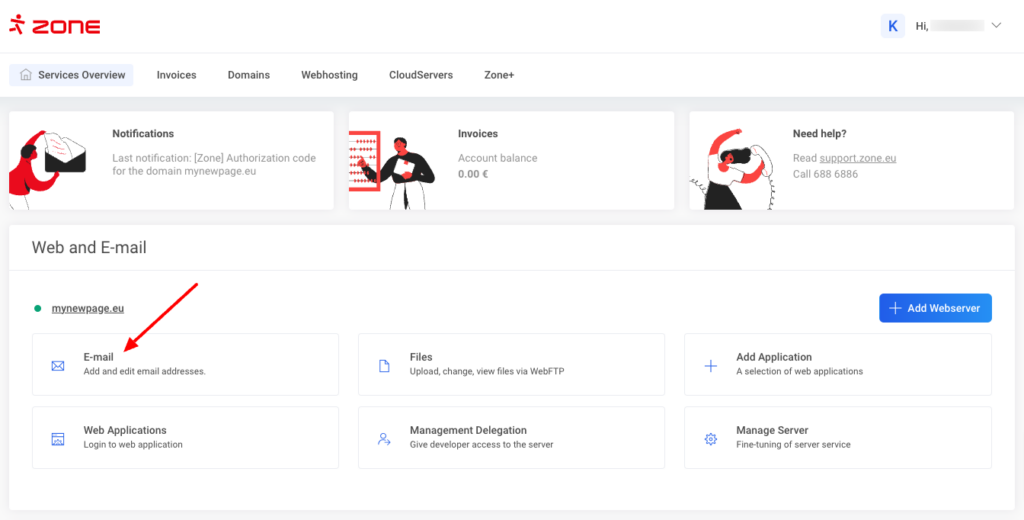
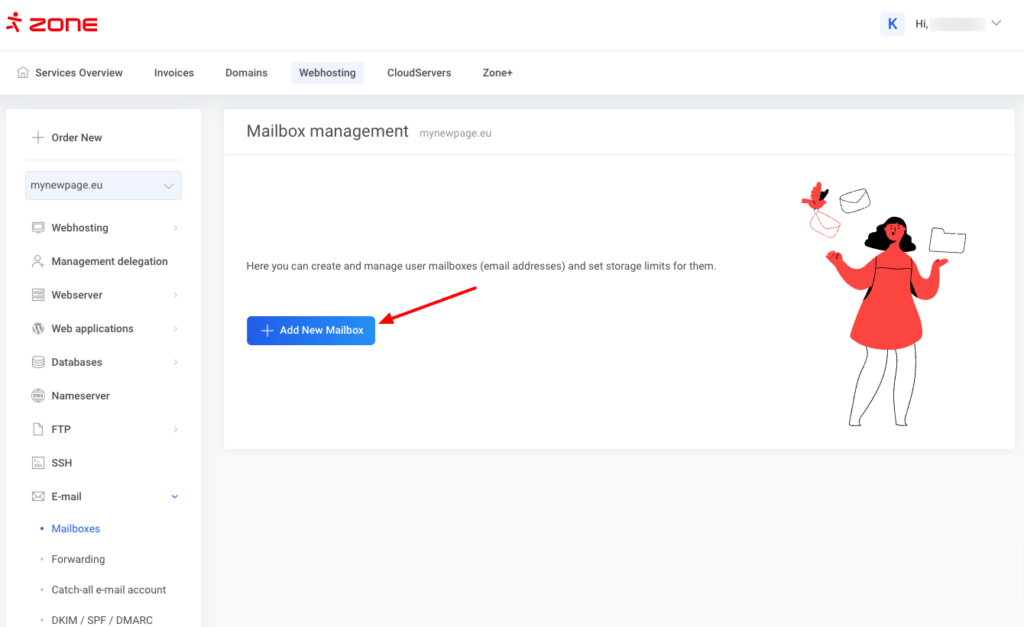
For adding a new e-mail account, click Add New Mailbox.
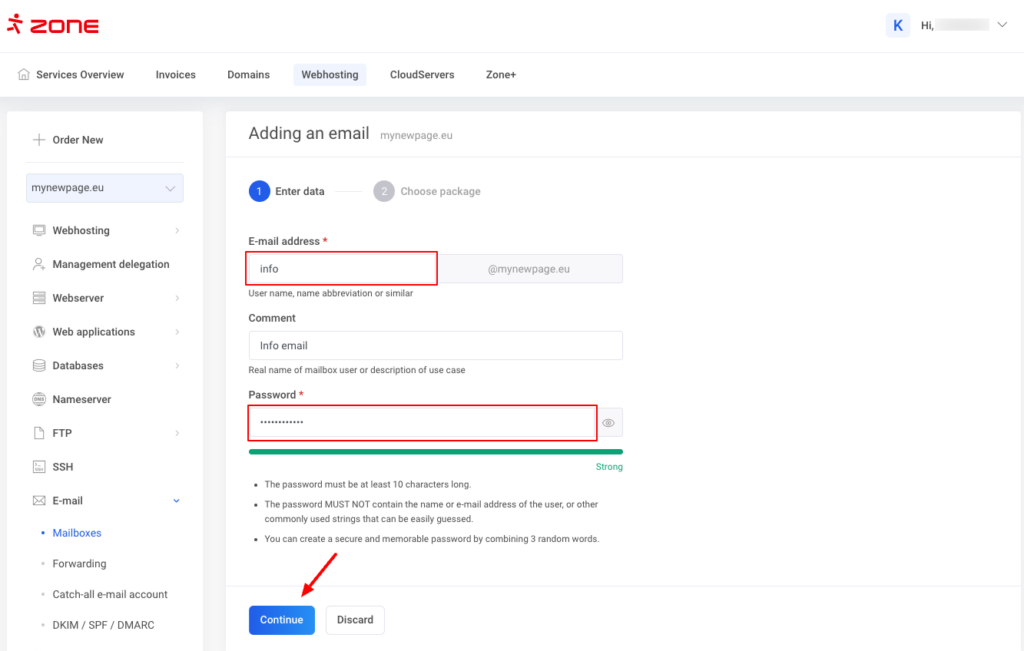
Enter the name of the mailbox in E-mail address field and password in the Password fields. Filling in the Comment field is optional.
Click Continue.
Next step is to choose a suitable package for you mailbox and after clicking Create mailbox the email account will be created.
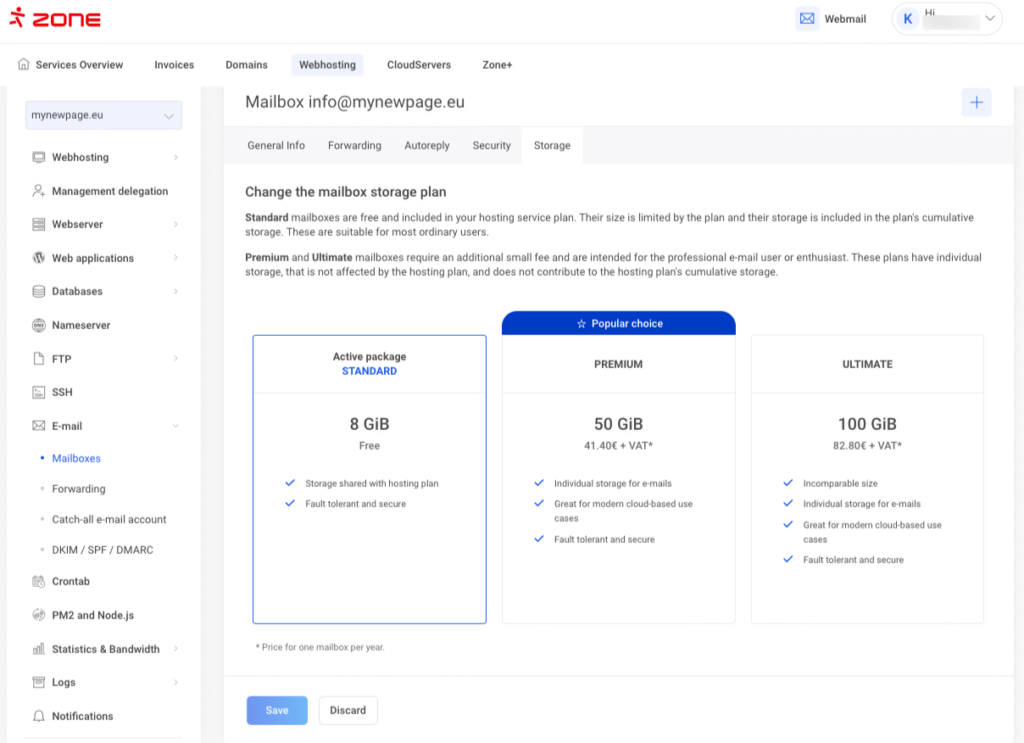
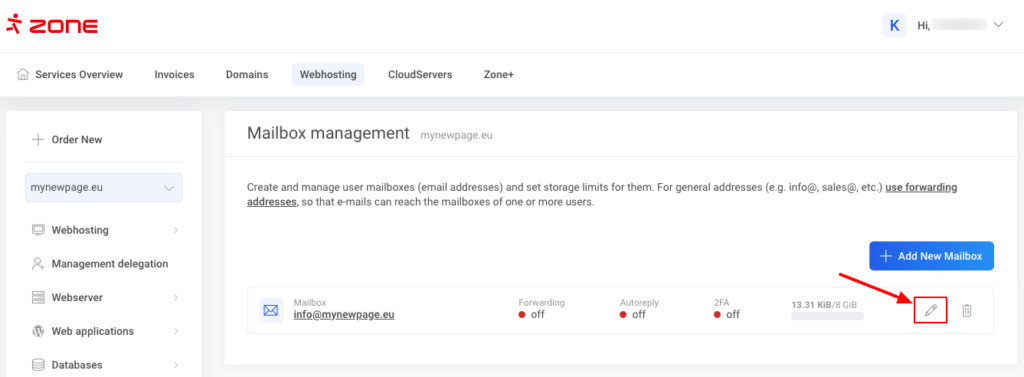
After the email account is created you can manage and edit it by clicking on the pencil icon.
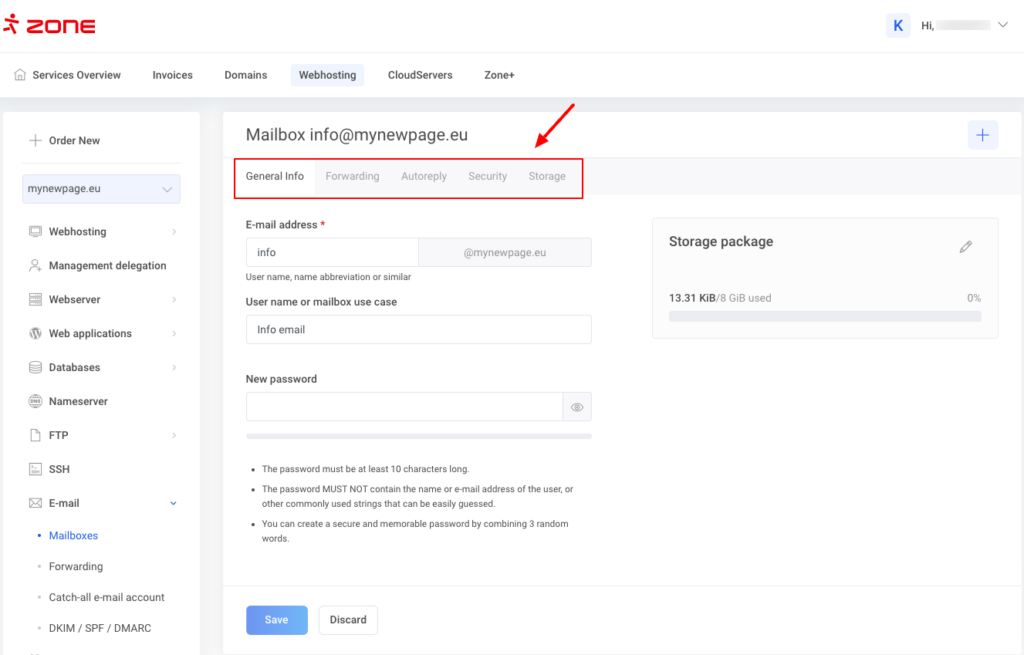
On the next page you can set up a an autoreply, forward a copy of emails, change the password, upgrade storage package and manage security setting such as 2fa, application passwords and change the spam filter rating.
The mailbox can be taken into use immediately in our webmail: https://auth.webmail.zone.eu/
Instructions on how to add the mailbox to an e-mail client program (Thunderbird, MacMail, iPhone etc) can be found here.